Measure
and analyze

Plant engineering at the highest level naturally also requires the ability to carry out the necessary tests and measurements. In the context of new development, we can fall back on a technical center with a wide range of possibilities.


Measure and analyze

A wide variety of measuring equipment is used, each of which is matched to the components and requirements. For example, we use an X-ray fluorescence analysis device to determine / test metals / alloys or a coupling measuring device to align shafts and couplings.

For simple geometric applications, we use distance lasers, cross line lasers, theodolites, digital and analog leveling devices, among others. For more complex geometric applications, e.g. a precision rotary level, a total station or a laser tracker are used.

A selection of our measuring instruments is shown below.

PMI – Positive material identification

PMI – Positive material identification

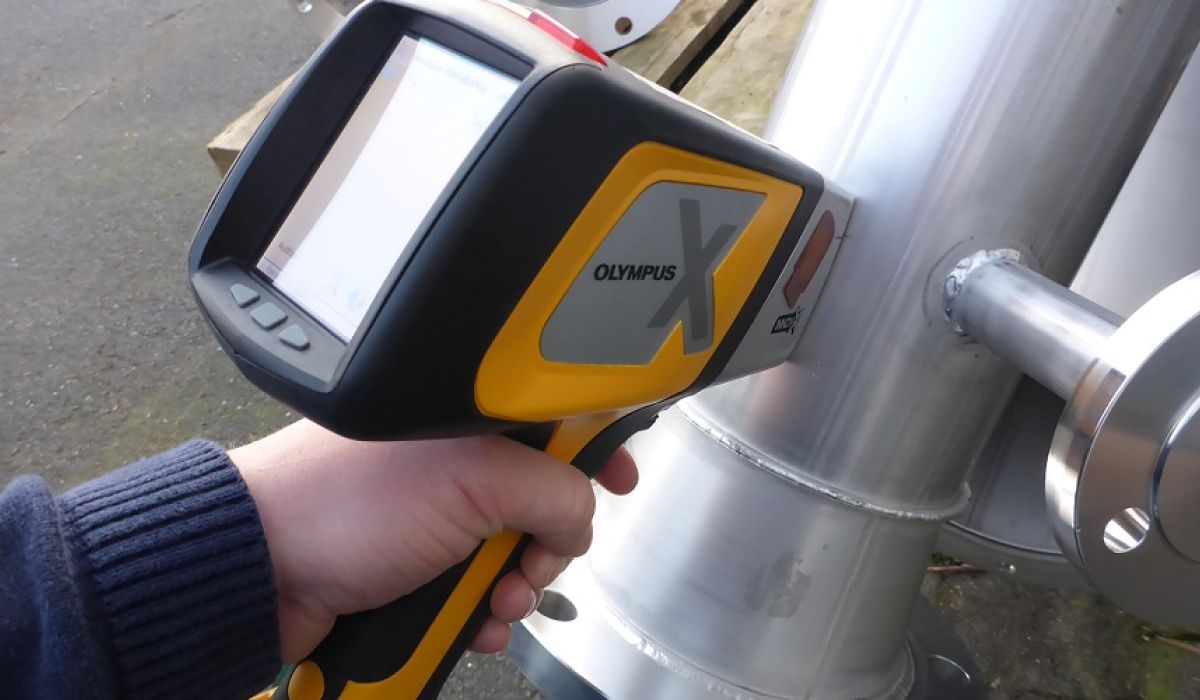
Our X-ray fluorescence analysis instrument in short XRF for alloys and metals provides specific chemical compositions of materials for fast and accurate identification of alloys and pure metals. The chemical composition of alloys and their variants are recorded in seconds. We use the XRF instrument for inspection at incoming goods or for inspection of the final product. All measurement results are documented in analysis protocols.

Präzisions-Rotationsmesssystem von Status Pro

From Status Pro: Precision Rotary Measuring System

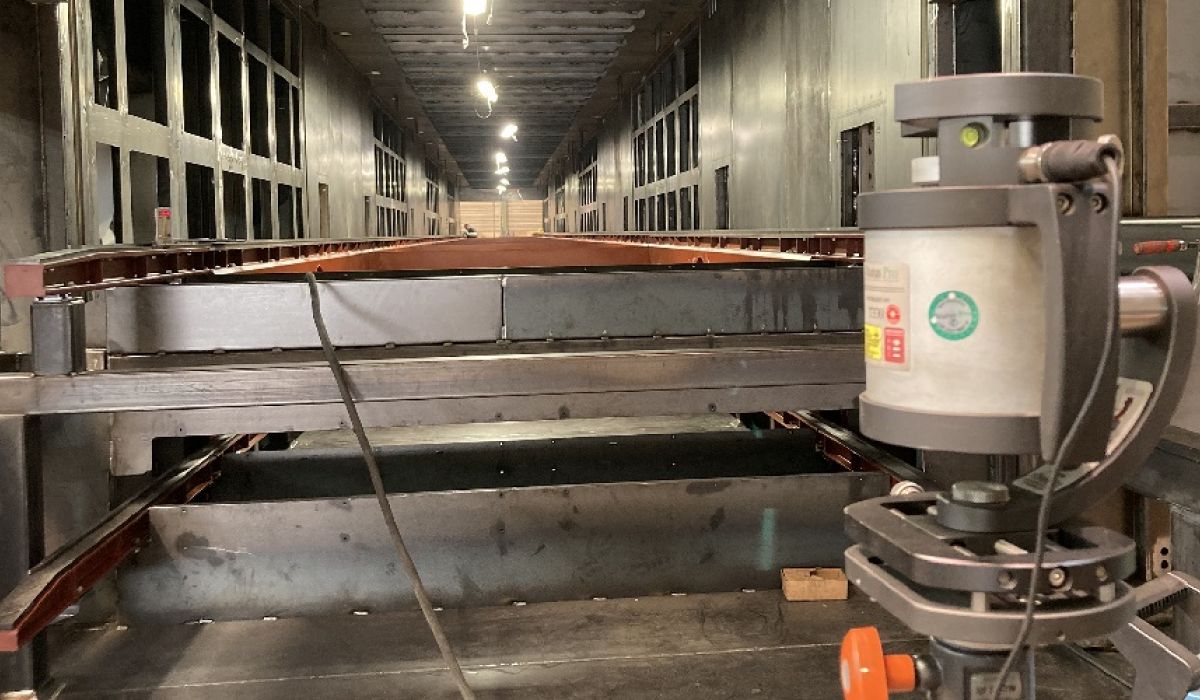
The T330 self-leveling rotating laser provides the laser source in the measuring system, and a laser receiver measures the beam position. Flatness and straightness measurements can be performed precisely and reproducibly. The range of this system is 80 m, an accuracy of < 0.02 mRad is achieved. Measurements in the tenth of a millimeter range are thus no problem. Measurement results and evaluations are generated on site using a tablet.

Kupplungsmessgerät – Optalign Smart RS

Coupling meter – Optalign Smart RS

The Optalign Smart RS measuring system is available for the alignment of shafts and couplings. The resolution here is 1 µm and angular 10 µrad. Alignment with this laser-based measuring system is quick and easy to handle and ensures longer service lives and less downtime. Measurement results are optimally evaluated and documented.

Diverse TESTO / Höntzsch-Klimamesskoffer

Various TESTO / Höntzsch climate measurement cases

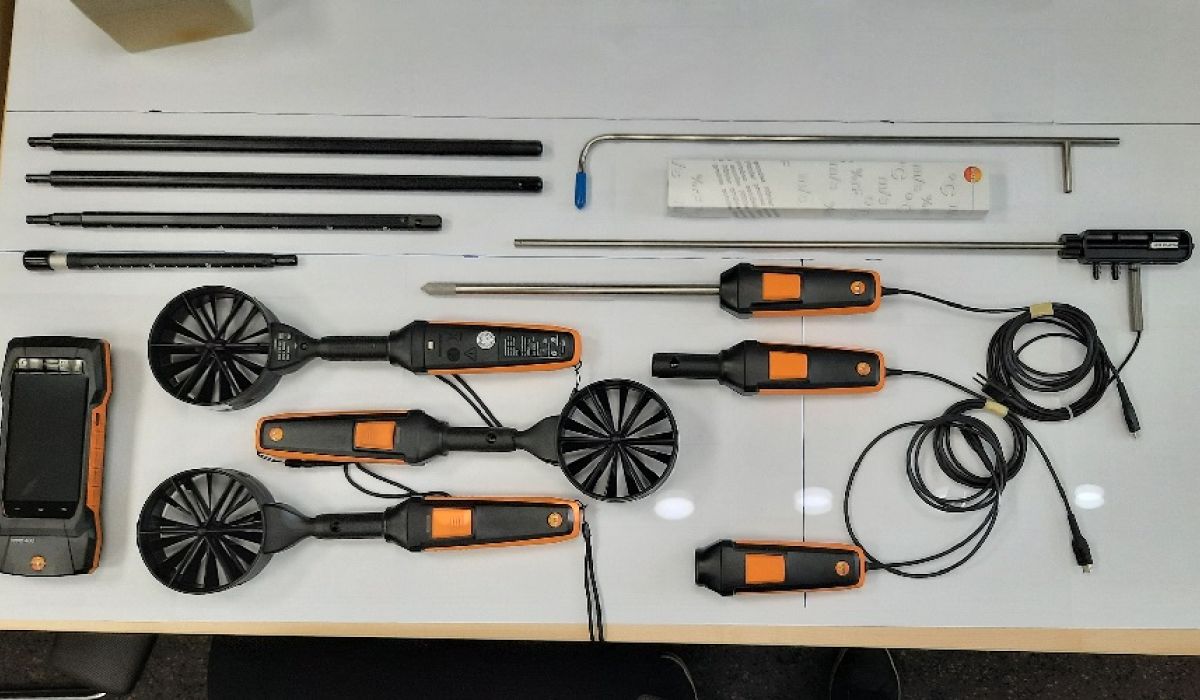
Process variables such as temperature, pressure, water vapor content, flow velocity and others must be measured precisely both during trials in the in-house pilot plant and during commissioning of the plant at the customer's site. On this basis, the process parameters determined in tests and agreed with the customer can be checked and adjusted in the delivered plant. Due to the time-resolved digital recording of the measured data, the acquired measured values can be easily analyzed, interpreted and graphically displayed.

Lasertracker API Radeon

Laser tracker API Radeon

For complex measuring applications with high demands on accuracy, we use a laser tracker (accuracy - simplified - is approx. 0.01mm/space meter, range up to 50m). The laser tracker works with two rotary encoders, which measure horizontal and vertical angles, similar to the principle of a theodolite. With the laser interferometer, which can be rotated with it, the distance is measured with high precision with several thousand laser pulses per second.

By measuring the distance and two angles, 3D coordinates can then be calculated, which can then be compared live with CAD models, among other things.

SAFEX NS4 – Fog Probe

SAFEX NS4 – Fog probe

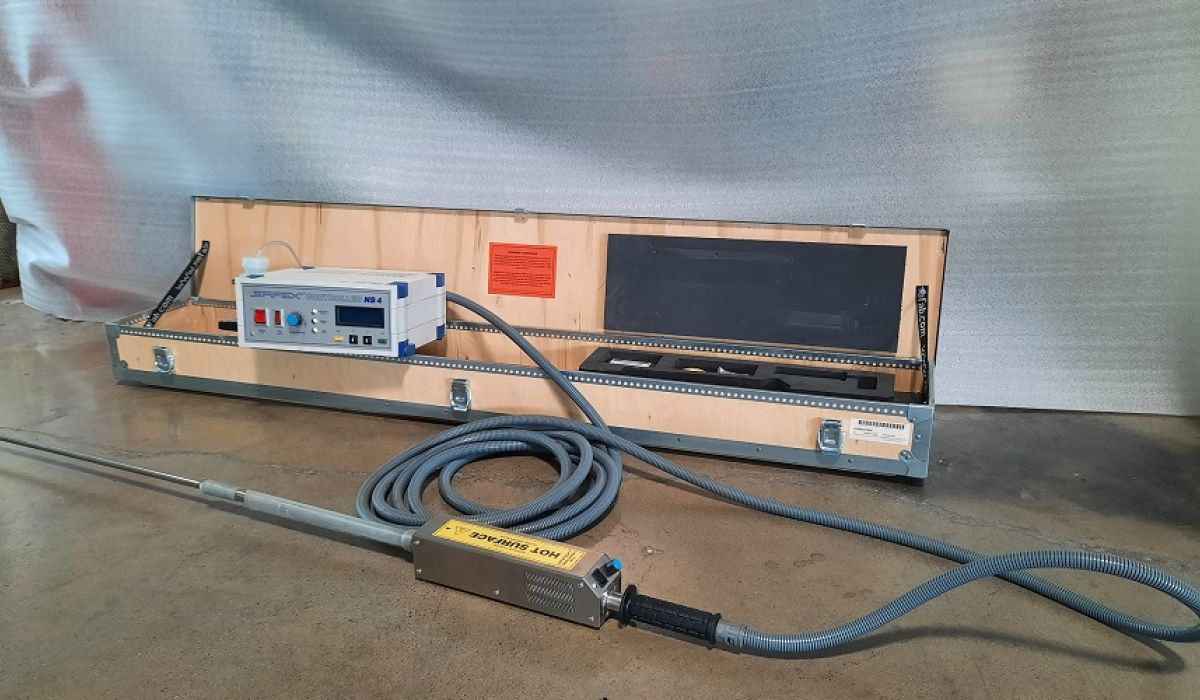
For an optimal heating or drying process, a uniform fluid flow over the process surface is of great importance. This is the only way to ensure that the manufactured product has a uniform quality. By visualizing the flow in the thermoprocessing system, the design can be analyzed and optimized with regard to uniformity even during production.

10-Kanal-Temperaturlogger mit Hitzeschutzbehälter

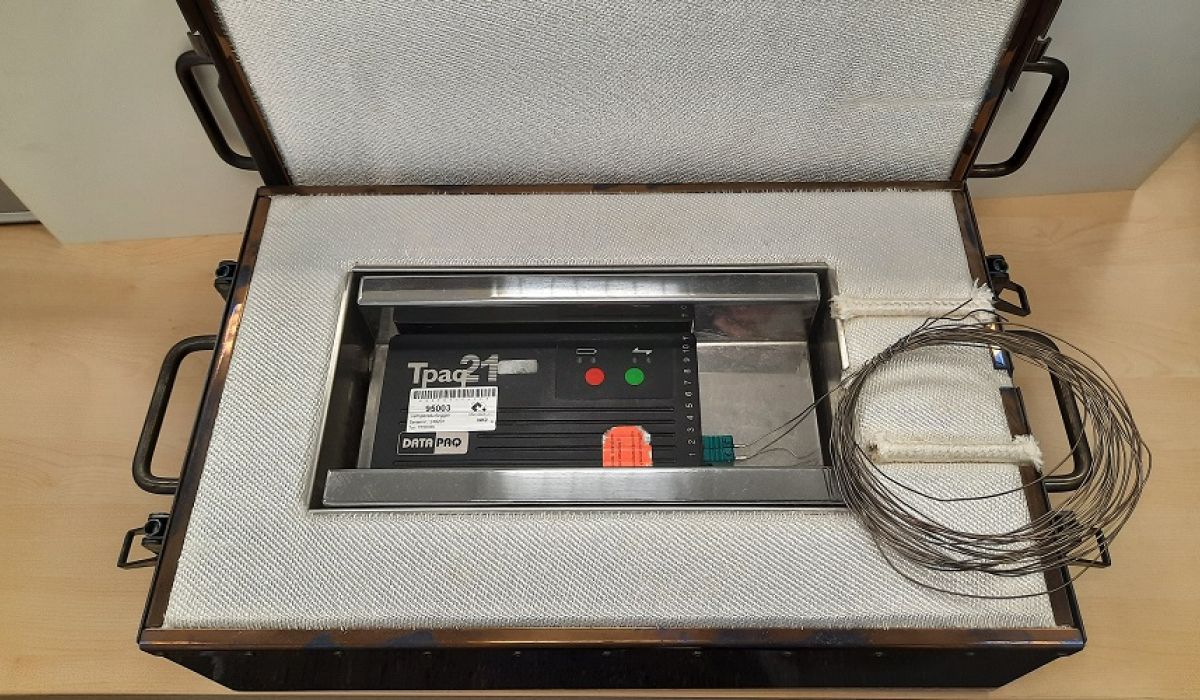
10-channel temperature logger with heat protection container

The Datapaq ® tracker system is ideal for process temperature monitoring due to its performance and flexibility. This solution combines precise data acquisition and powerful analysis techniques. It ensures consistent product quality and maximum efficiency from commissioning and troubleshooting to process optimization. The essential function of all PhoenixTM heat protection vessels is to protect the data logger as it passes through the furnace. The maximum operating temperature of 800°C of the heat protection vessel is 1.2 hr.

Thermokamera – FLIR-ThermaCAM E45

Thermal camera - FLIR ThermaCAM E45

The FLIR-ThermaCAM™ E45 thermal camera is used in a variety of measurements and analyses. Good examples are the detection of thermal bridges in thermoprocessing equipment or the simple inspection of clamp connections in switchgear. The measuring range is -20 to +250 °C with an accuracy of ± 2% of the read value.

ErsaTec – Tragbarer Flammen-Ionisations-Detektor (FID)

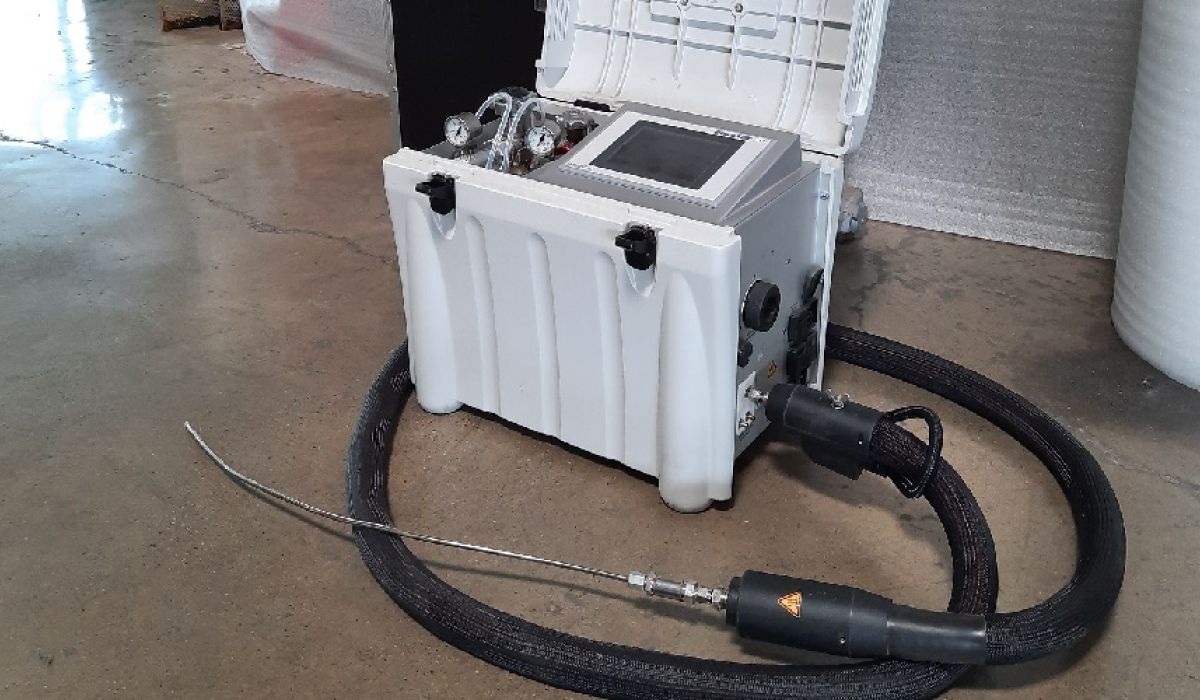
ErsaTec - Portable Flame Ionization Detector (FID)

Flammable solvents are released in many thermoprocessing plants. With regard to explosion protection, these must be taken into account in the safety-related consideration of the plant. The flame ionization detector is used for the continuous measurement of hydrocarbons in gases. The hydrocarbons are cracked with the aid of a hydrogen flame. The CHO+and H3O+ ions produced by chemical ionization are extracted by a DC voltage between two electrodes.

Messmittel – Vermessung

Leica Totalstation TCRP1201

For complex or large-scale measurement applications with lower accuracy requirements, we use a Leica total station (TCRP1201). Here, too, 3D coordinates are determined in space according to the same principle as with the laser tracker.

3D - CAD matching / Augmented reality

Using a tablet with a lidar scanner, the 3D design is superimposed on the real component. This enables a quick comparison between the component and the 3D file. Through this assisted visual inspection, deviations can be easily displayed and documented graphically. PDF reports and annotations can be generated and saved instantly. The Twyn software from Visometry GmbH has been in use at our company since 2022 and is constantly being further developed.